|
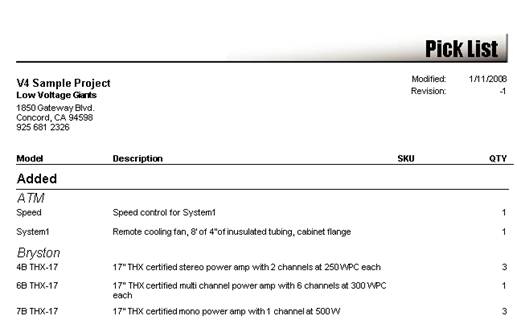
Creating a Pick List for Change Orders OverviewThis document will show you how to create a custom Pick List report that groups items by their change status: Added, Removed, or Modified. Note that the change status only applies to delta reports (reports run on the difference between two project revisions). These steps can be applied to any report that supports dynamic grouping. Steps1.
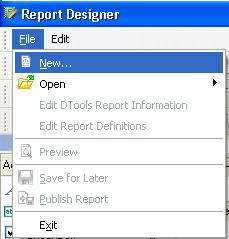
Open the Report Designer and select File > New…
2.
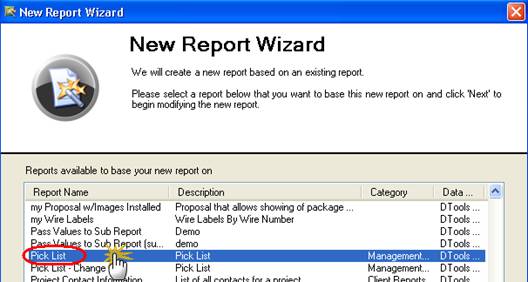
In the New Report Wizard, choose New Report Based on Existing
Report and select Pick List from the list of available reports
3.
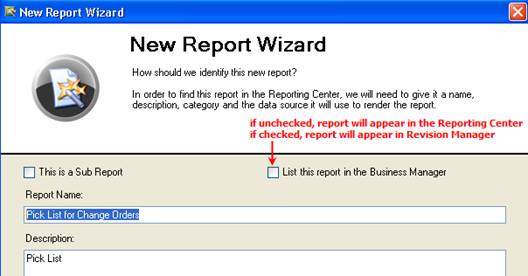
Name the report (e.g. Pick List for Change Orders)
4. Click Next on the page setup screen
5.
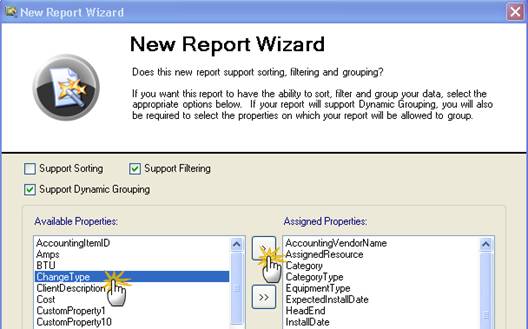
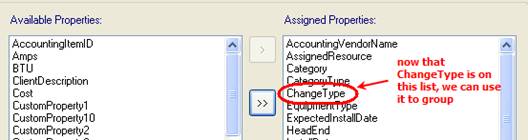
Under Available Properties, select ChangeType and then
the > button. This will add ChangeType to the list of Assigned
Properties.
6. Click Next, then Finish on all remaining screens to finish the wizard
7.
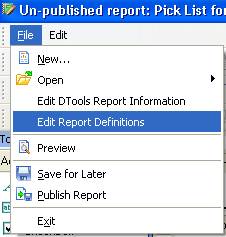
Go to File > Edit Report Definitions
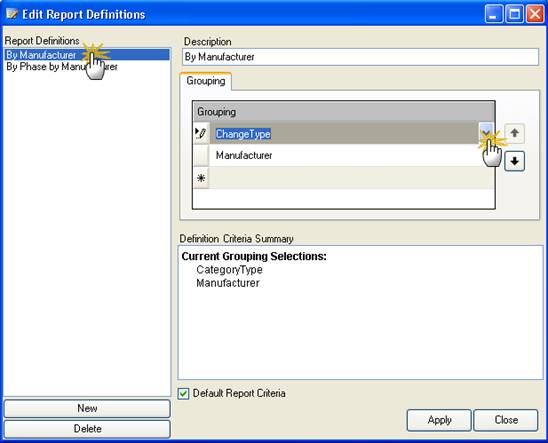
8.
Select the By Manufacturer report definition and change the
groupings to be ChangeType then Manufacturer
9. Hit Apply and Close to save the changes
10. Go to File > Publish Report to publish the custom report and exit the Report Designer
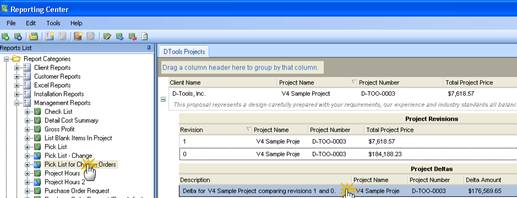
11.
At this point, you should see the report in the reporting center (or
revision manager), and can run like any other report.
sample ReportA sample report can be downloaded here. Do not unzip – store to local drive and import using Reporting Center. http://downloads.d-tools.com/si5/reports/Other/Pick_List_by_Change.zip
|